Mini pumpkins add instant fall charm, and paint makes them even more fun. This guide shares 26 mini pumpkin painting ideas that look cute on shelves, tables, and porch displays.
You can finish most of these designs in one evening with basic craft paint and small brushes.
Classic White Pumpkins With Gold Stems
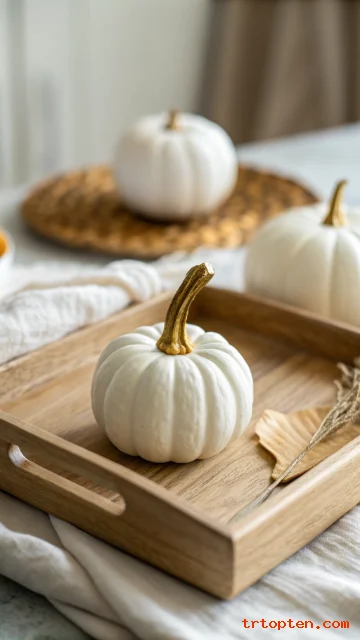
Paint the mini pumpkin matte white for a clean, modern base. Add a thin coat of gold paint on the stem for a luxe finish. This combo looks sharp in farmhouse, minimal, or glam decor.
Use two thin white coats to avoid streaks and bumps. Let each coat dry fully before the next. Seal with a clear matte topcoat for a soft, pottery-like look.
Buffalo Plaid Mini Pumpkins
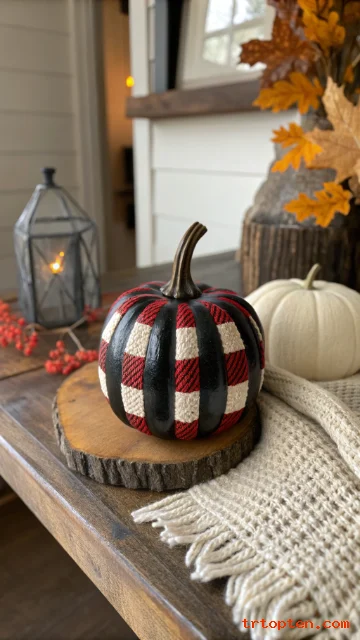
Paint a pale base color like cream or light gray. Add thick horizontal and vertical black lines, then fill the squares with thinner red lines. The pattern reads bold even from across the room.
Use painter’s tape if you want sharp edges. Remove tape while paint is slightly wet to prevent peeling. Pair a few sizes together for a cozy cabin vibe.
Polka Dot Party Pumpkins

Choose one base color and one dot color for a tidy look. Paint the base, then use the end of a brush handle to stamp dots. Keep dot sizes consistent for a clean pattern.
Try black dots on blush for a trendy style. Try white dots on orange for a classic fall feel. Place several together for a cheerful centerpiece.
Galaxy Night Sky Pumpkins
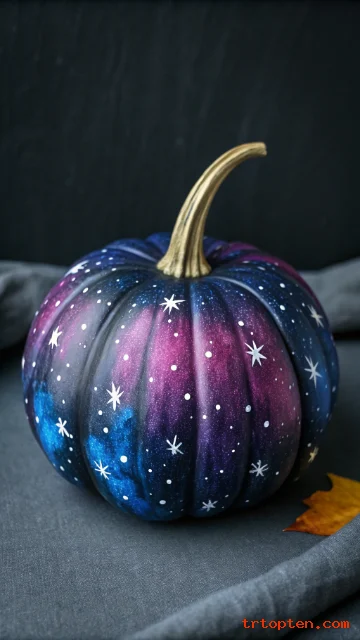
Paint the pumpkin deep navy or black as your background. Sponge on purple and blue patches, then flick tiny white stars with a stiff brush. Add one bright “moon” dot for extra drama.
Work in layers so colors blend softly. Keep the sponge nearly dry to avoid muddy spots. Seal with a satin topcoat to mimic space glow.
Pastel Ombre Pumpkins
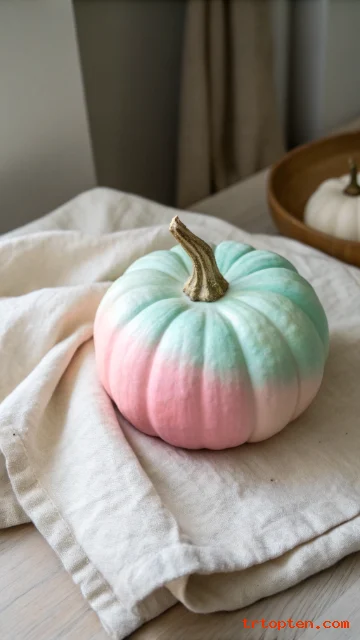
Pick two or three pastel shades that blend well. Paint the bottom one color, the top another, and blend in the middle with a damp brush. The soft fade looks calm and modern.
Use acrylic paint with a little water for smoother blending. Rotate the pumpkin as you blend to keep the fade even. Add a simple painted stem for a polished finish.
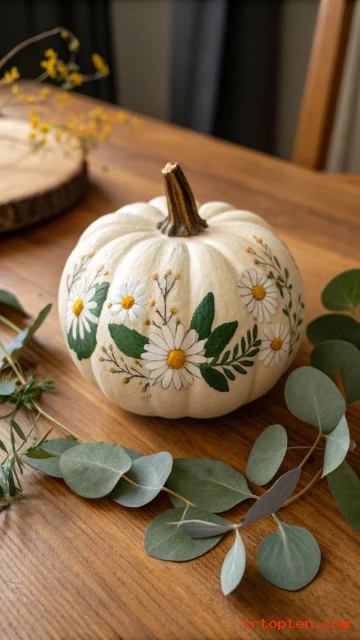
Floral Garland Mini Pumpkins
Paint a light base like ivory or pale sage. Add a curved vine line around the middle, then paint small flowers and leaves. Keep the florals simple for a fresh, handmade look.
Use a fine liner brush for petals and stems. Repeat a few flower shapes to make the design cohesive. Pair these with real greenery for a sweet fall table.
Cute Jack-O’-Lantern Faces
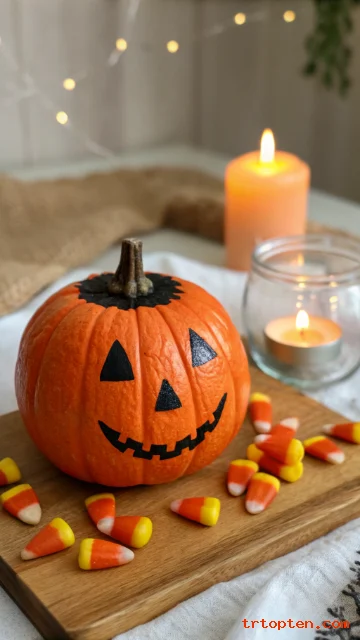
Paint the pumpkin bright orange for a classic base. Add simple black triangle eyes and a curved smile. Keep the face large so it reads clearly on a mini size.
Try a wink face for a playful twist. Use a black paint pen for crisp lines. Seal it so the expression stays bold all season.
Black Cat Silhouette Pumpkins
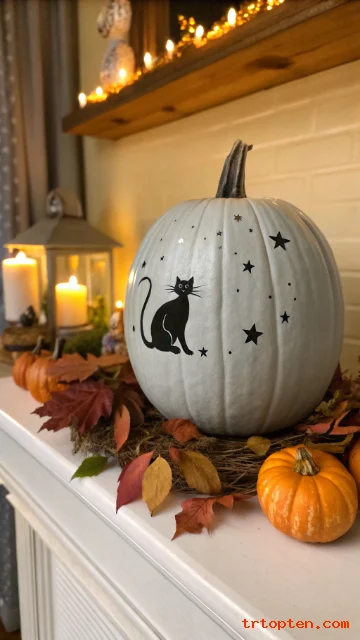
Paint the pumpkin white, beige, or pale gray. Paint a black cat silhouette sitting on one side, with a curled tail for charm. Add tiny whiskers with a paint pen.
This design looks great in sets of three. Mix cat poses like sitting, stretching, and walking. Add a few stars for a spooky-cute theme.
Candy Corn Color Block

Paint the top white, the middle orange, and the bottom yellow. Use painter’s tape to make clean stripes. The bold blocks look graphic and fun.
Keep the sections even for a balanced look. Use two coats per color for strong coverage. Display them in a bowl for instant fall candy vibes.
Metallic Copper Pumpkins
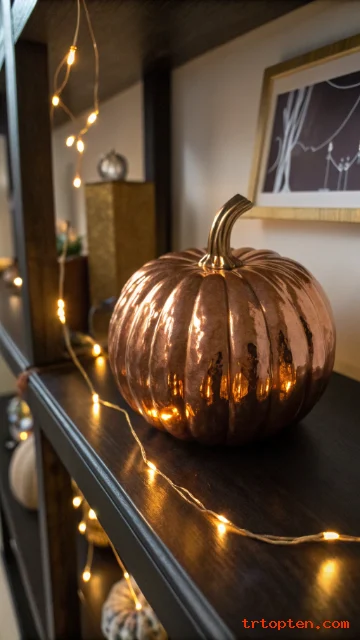
Paint the pumpkin with a copper metallic acrylic. Add a second coat for a rich shine. Pair with darker pumpkins for contrast.
Copper looks great with navy, cream, and deep green decor. Paint the stem matte black for a sleek edge. Finish with a gloss sealer for a reflective look.
Chalkboard Paint Pumpkins
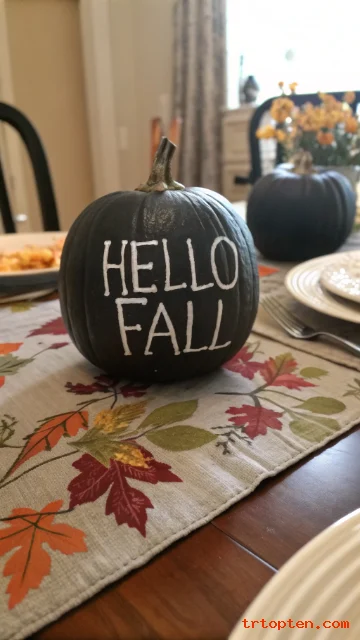
Paint the whole pumpkin with chalkboard paint. Write names, short quotes, or menu items with chalk or a chalk marker. This works great for parties and place settings.
Use a white chalk marker for clean lines. Erase and rewrite anytime for new events. Seal lightly only if you want the writing permanent.
Sunflower Mini Pumpkins
Paint a warm cream or pale blue base. Add a large sunflower bloom on one side with yellow petals and a brown center. Add two green leaves to frame it.
Use dotting for the center texture. Layer petals from dark to light for depth. This design feels bright and friendly in any room.
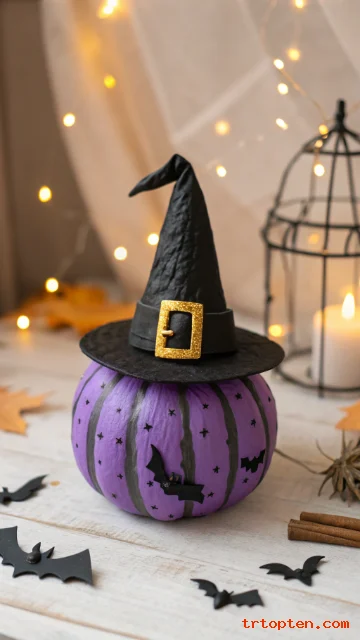
Witch Hat Topper Look
Paint the pumpkin a solid color like purple or orange. Paint the stem and top area black to mimic a witch hat. Add a tiny gold buckle detail on the “hat” area.
Keep the hat shape tall and centered. Use a thin brush for the buckle edges. Pair with other Halloween minis for a playful display.
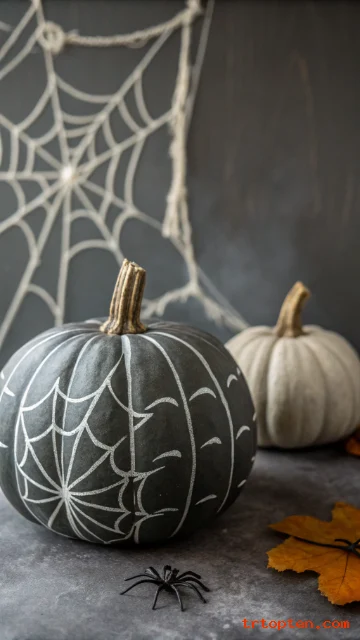
Spider Web Corner Design
Paint the pumpkin in a dark base like charcoal. Paint a white web in one corner using thin lines and curved connectors. Add a tiny spider dot with legs for drama.
Keep the web in one area so it feels modern. Use a fine liner brush or paint pen for neat lines. Add a subtle shimmer topcoat for a night look.
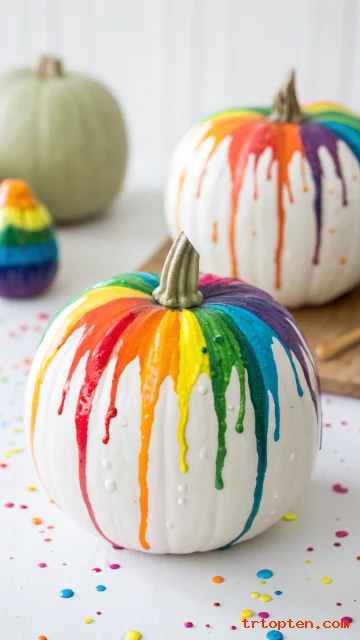
Rainbow Drip Pumpkins
Paint the pumpkin white as the base. Paint colorful drips from the top down like melted paint. Keep drips different lengths for a fun effect.
Use bright colors for a playful look. Let each drip color dry before adding the next beside it. Seal with gloss to boost the candy-like vibe.
Plaid In Soft Neutrals
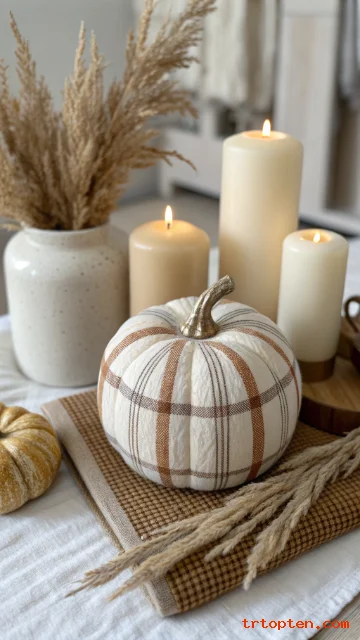
Paint a tan or oatmeal base. Add thin lines in cream and brown to form a soft plaid. This looks calm and fits neutral fall palettes.
Use a ruler or tape for straight lines. Keep spacing consistent for a tidy pattern. Place these near candles and wood accents for warmth.
Monogram Initial Pumpkins
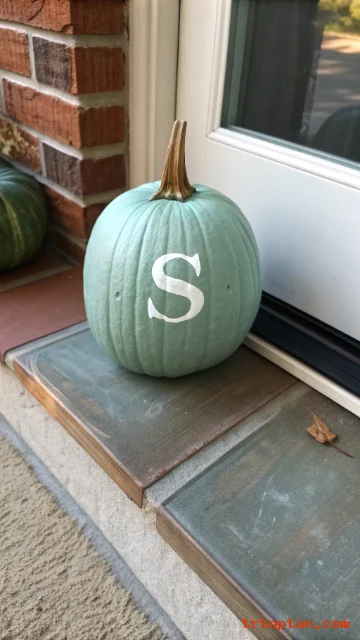
Paint the pumpkin a solid base color. Add one large initial letter in black, white, or gold. Place one pumpkin per family member for a personal set.
Use a stencil for sharp typography. Center the letter on the flattest side. Add tiny dots or leaves around the letter for balance.
Boho Mandala Pumpkins
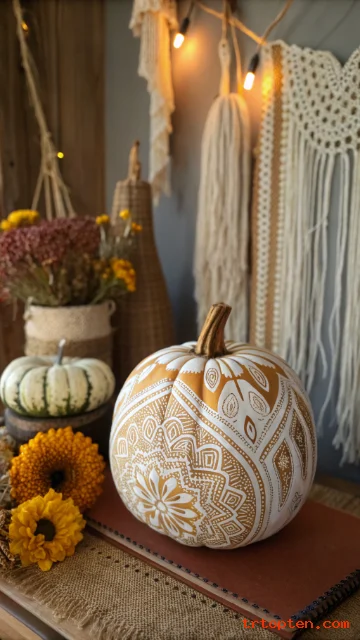
Paint the pumpkin in a warm base like terracotta or cream. Add a mandala pattern with dots and short strokes in white and gold. Keep the design centered for symmetry.
Work from the center outward in rings. Use dotting tools for consistent circles. Seal with matte to keep it soft and earthy.
Fruit-Inspired Pumpkins
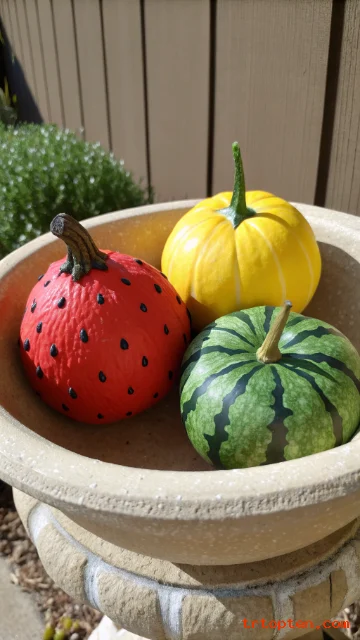
Turn mini pumpkins into faux fruits with paint. Paint one like a strawberry with red and tiny seeds, or like a lemon with bright yellow and pores. Add green leaf details near the stem.
This style looks cute in kitchen decor. Use small dots and highlights for realism. Display them in a bowl like a fruit centerpiece.
Cozy Sweater Pattern Pumpkins
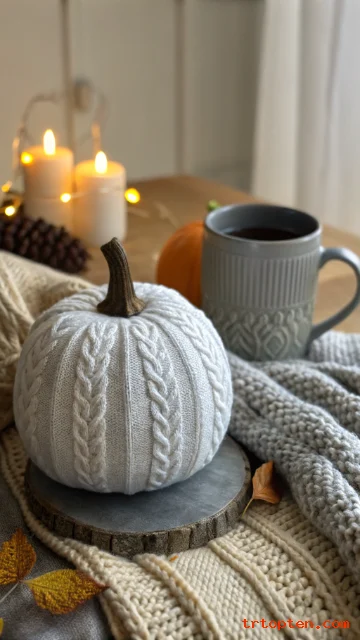
Paint the pumpkin in a solid neutral base. Add repeated V-shapes, zigzags, or cable-like lines to mimic knit texture. Use white paint on a gray base for a cozy look.
Keep the pattern evenly spaced. Add tiny dots between lines for texture. Pair with real knit throws for extra charm.
Marbled Mini Pumpkins
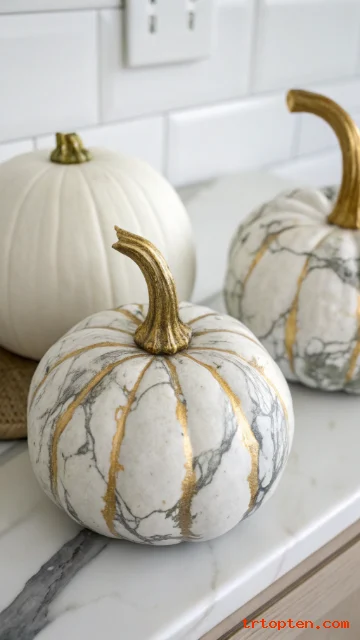
Paint a white base and let it dry. Swirl thin lines of gray and gold, then blend lightly with a soft brush. The result looks like stone or marble.
Do not overblend or it turns muddy. Keep some crisp veins for realism. Seal with satin for a polished stone effect.
“Stained Glass” Outline Pumpkins
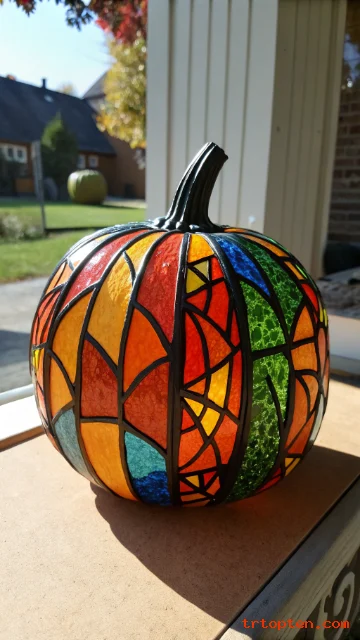
Paint a black base or a white base, depending on your style. Draw bold black outlines for sections like stained glass panels. Fill each section with bright colors.
Use paint pens for the outlines. Keep sections large enough to fill cleanly. This looks amazing under bright light on a windowsill.
Pressed Leaf Print Look
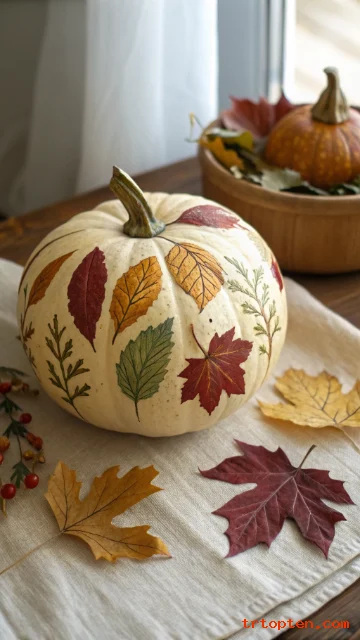
Paint the pumpkin a light base like cream. Paint leaf shapes in green, rust, and mustard, then add thin veins. Keep leaves overlapping for a layered look.
Use real leaves as a guide for shape. Add a tiny shadow line under each leaf for depth. Seal with matte for a natural finish.
Cute Ghost Mini Pumpkins
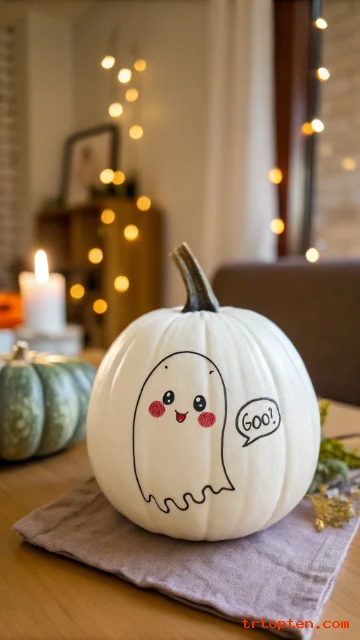
Paint the pumpkin white. Paint a simple ghost shape on the front, then add two black eyes. Add tiny blush cheeks for extra cute style.
Use a light gray shadow under the ghost to make it pop. Keep the face simple and friendly. Group three ghost pumpkins together for a sweet Halloween set.
Vintage Halloween Labels
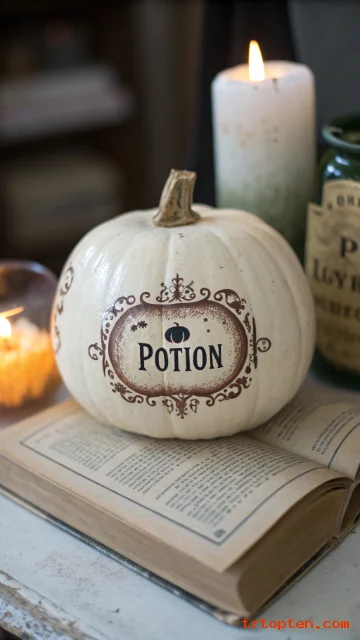
Paint the pumpkin a muted color like dusty orange or cream. Add a faux vintage label design like “Potion” or “Cider” with old-style borders. Use black and sepia tones for an aged look.
Rough up edges with a dry brush to mimic wear. Add tiny flourishes and line work for character. Seal with matte to keep it antique.
Tiny Landscape Scene Pumpkins
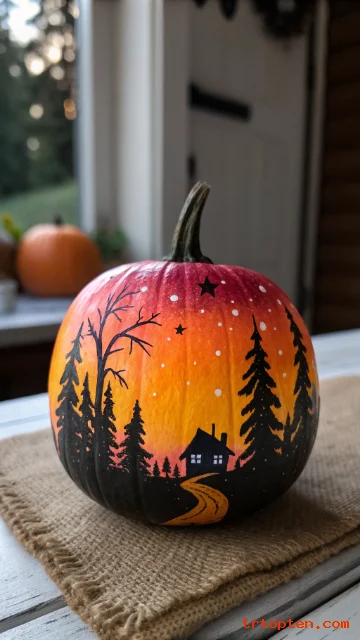
Paint a sky gradient on the pumpkin, like sunset pink to purple. Paint a simple horizon with trees, hills, or a small house silhouette. Add tiny stars or a moon for a storybook feel.
Use a fine brush for the silhouettes. Keep shapes simple so the scene stays clear. Display these on a mantel for a mini art gallery effect.
What kind of paint works best for mini pumpkin painting?
Acrylic craft paint works well for most mini pumpkin painting ideas. It dries fast and layers easily. Use thin coats for smoother results.
Do I need to clean mini pumpkins before painting?
Yes, you should wipe the pumpkin with a dry cloth first. Remove dust and loose debris so paint sticks better. Let the pumpkin fully dry if it feels damp.
How do I stop paint from streaking?
You should use two thin coats instead of one thick coat. A soft brush and light pressure help reduce lines. Let each coat dry before you add the next.
Should I seal painted mini pumpkins?
Sealer helps the paint last longer and look cleaner. A clear matte sealer keeps a soft look, and gloss adds shine. Spray sealers give an even finish.
Can I paint real mini pumpkins and still keep them from rotting?
Paint can slow moisture loss, but it cannot stop rot completely. You should store them in a cool, dry spot and avoid direct sun. Faux craft pumpkins last much longer.
What brushes do I need for detailed designs?
You need a small flat brush for base coats and a fine liner brush for details. A dotting tool or the end of a brush handle helps with dots. Paint pens also help with clean lines.
How long does it take to paint a mini pumpkin?
Most designs take 30 to 90 minutes, not counting drying time. Simple faces and color blocks finish quickly. Detailed patterns take longer but still fit in one evening.
What are easy mini pumpkin painting ideas for kids?
Polka dots, simple faces, candy corn stripes, and rainbow drips are easy. These designs use big shapes and quick steps. Adults can handle sealing for best results.
Can I use stencils on mini pumpkins?
Yes, stencils help you get crisp letters and shapes. You should tape the stencil down to prevent shifting. Use a sponge to dab paint lightly.
How do I display painted mini pumpkins at home?
You can place them in bowls, trays, and tiered stands. Group three to five pumpkins for a balanced look. Mix textures like wood, metal, and fabric for extra warmth.
Conclusion
These 26 mini pumpkin painting ideas give you simple ways to refresh your fall decor with color, pattern, and personality.
You can keep things classic with neutrals, go bold with drips and galaxy paint, or get cute with ghosts and cats. Pick a few favorites, paint a small set, and you will have handmade mini pumpkins that look great all season.