No carve pumpkin decorating ideas let you skip the mess and still get a porch display that looks polished.
You can use paint, fabric, paper, lights, and simple craft supplies to build a style that fits your home.
Matte Paint Color-Block Pumpkin
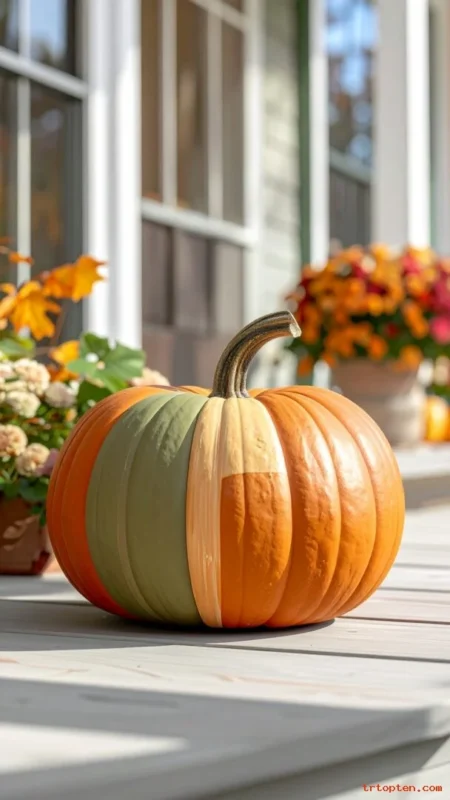
Use painter’s tape to split the pumpkin into clean sections, then paint each section in a matte fall shade. Let each color dry before you pull the tape so the lines stay sharp.
Place the pumpkin on a simple tray with a small candle and a few acorns for an easy vignette. You can match the colors to your pillows, wreath, or table runner.
Seal the paint with a clear matte spray so the finish stays smooth and scuff-free. Store the pumpkin indoors when you are done so the paint stays crisp for next year.
Elegant Pumpkin With Vinyl Lettering
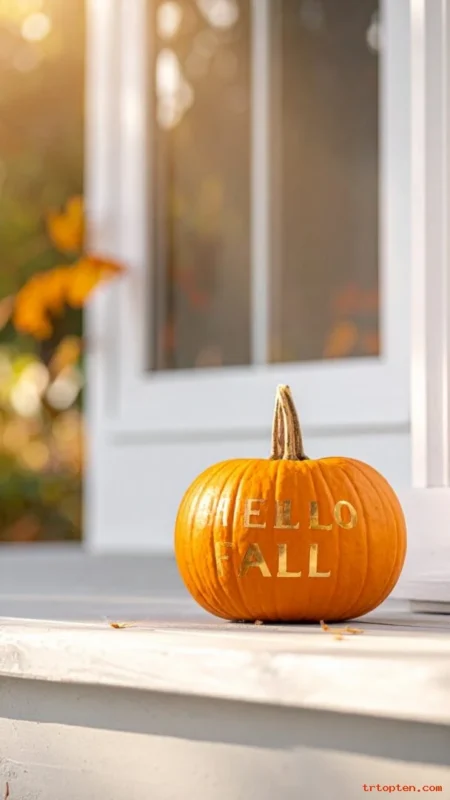
Clean the pumpkin skin so the vinyl sticks flat and smooth. Add a family name, a short fall phrase, or a bold initial in the center.
Use black vinyl on a white pumpkin for a modern look that reads from the street. Use gold vinyl on an orange pumpkin for a warm, classic feel.
Press the vinyl from the center outward to remove bubbles. Add a simple bow around the stem if you want a finished, gift-like look.
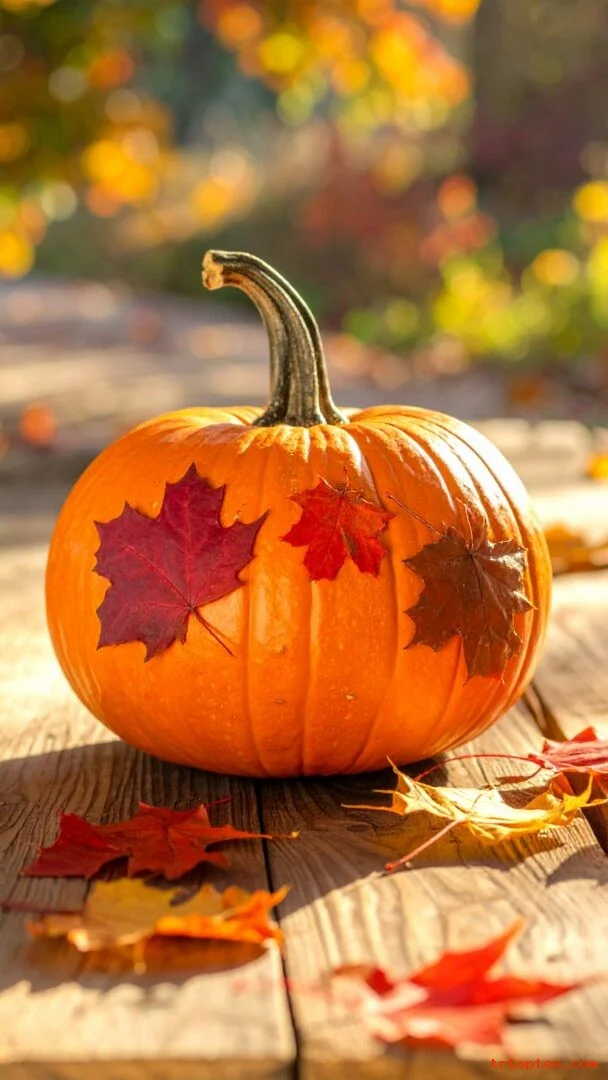
Pressed Leaf Collage Pumpkin

Gather flat leaves and press them in a book for a few days so they lay smooth. Glue the leaves in layers, starting at the bottom and working upward.
Mix shapes and colors so the surface looks rich and natural. Leave small gaps so the pumpkin color peeks through for contrast.
Brush on a thin layer of decoupage sealer to lock everything in place. Let it dry fully so the leaves do not curl at the edges.
Glitter-Dipped Pumpkin
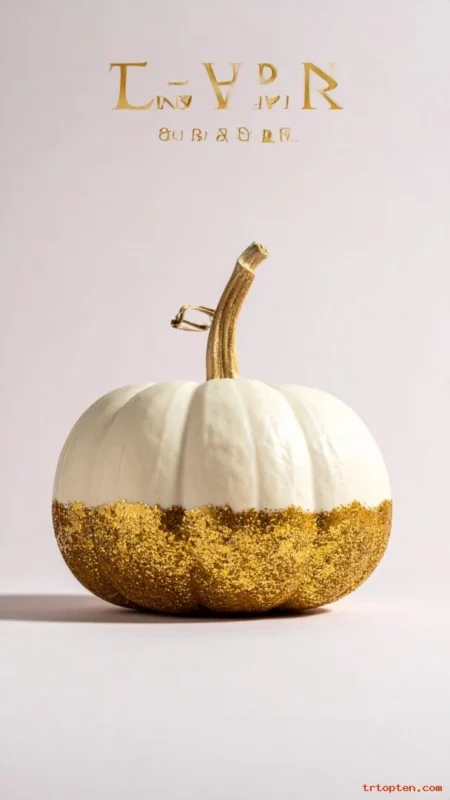
Tape a straight line around the pumpkin to mark the glitter edge. Paint glue under the tape line, then sprinkle glitter until the area looks solid.
Use fine glitter for a smooth look and chunky glitter for more sparkle. Pick one color to keep it clean, like gold, copper, or black.
Shake off the extra glitter onto paper so you can reuse it. Spray a clear sealer over the glitter so it sheds less during the season.
No-Carve Floral Pumpkin Topper
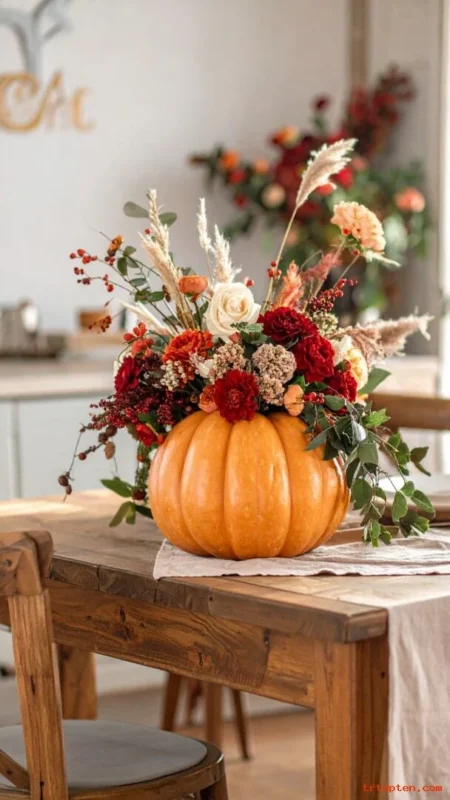
Cut floral foam to sit flat on the pumpkin top, then secure it with pins or hot glue. Add faux blooms and greenery in a tight, full arrangement.
Use fall tones like rust, blush, and cream for a cozy look. Add a few berries or mini pinecones to make it feel seasonal.
Keep the flowers lower than the stem so the pumpkin still reads as a pumpkin. Place it as a centerpiece so guests see it from all sides.
Washi Tape Pattern Pumpkin
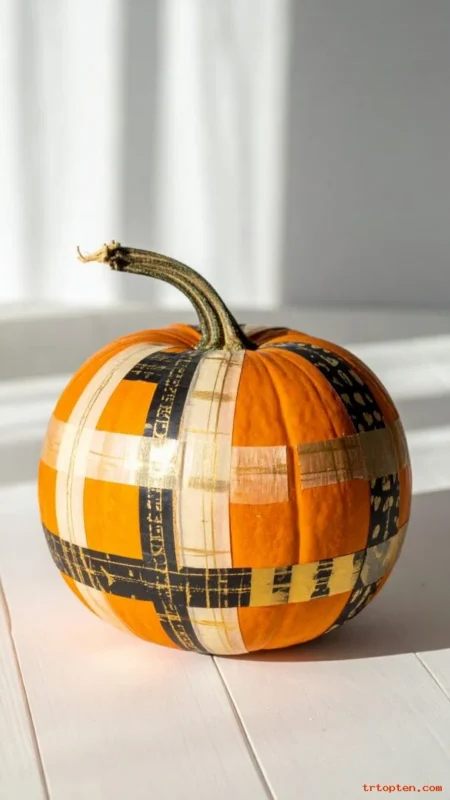
Choose two or three washi tape rolls that share a color theme. Wrap stripes, chevrons, or a simple grid across the pumpkin surface.
Use thin tape for fine patterns and wide tape for bold blocks. Press the ends down firmly so they do not lift.
You can mix metallic tape with matte tape to add depth without clutter. If tape peels, trim the edge and re-press it for a clean finish.
Chalkboard Paint Message Pumpkin
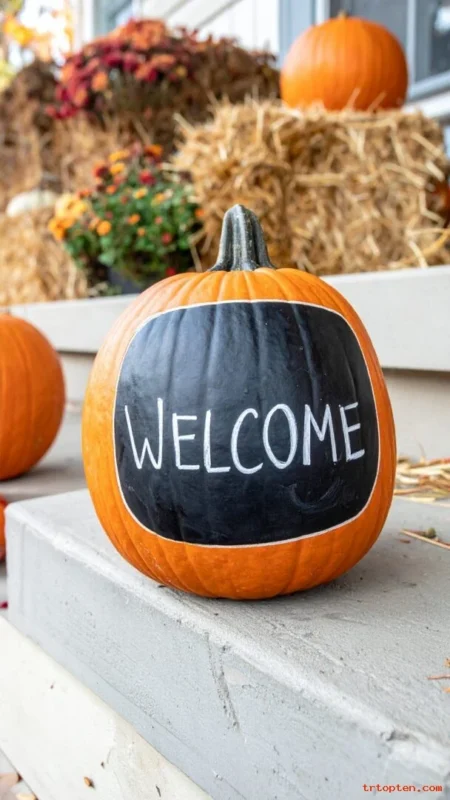
Paint one side of the pumpkin with chalkboard paint and let it cure fully. Write a short note like “Pumpkin Patch” or “Pick Me” in neat lettering.
Use a chalk marker for sharper lines and less dust. Change the message during the season for parties, dinners, or photos.
Frame the chalk area with a thin painted border if you want it to look like a real sign. Place the pumpkin near your entry so the message feels welcoming.
Decoupage Book Page Pumpkin
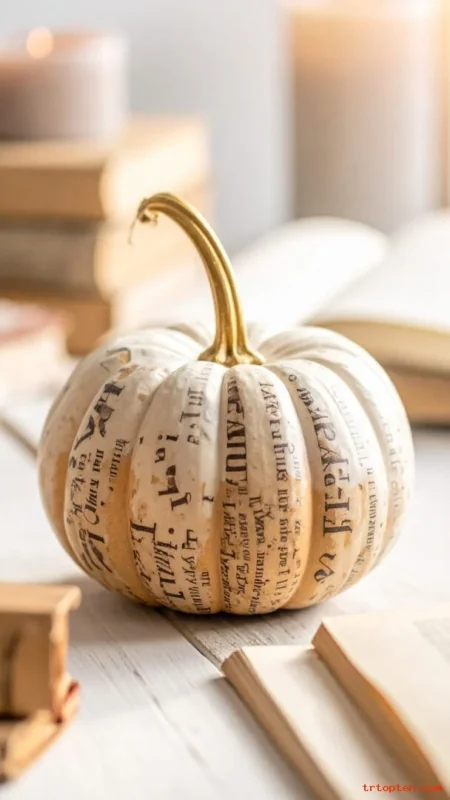
Tear old book pages into small pieces so they curve easily. Brush decoupage glue onto the pumpkin, then overlap the paper pieces like tiles.
The torn edges look softer than cut edges and hide seams better. You can highlight the stem with a little gold paint for contrast.
Seal the whole pumpkin with a clear coat so the paper stays smooth. Pair it with a stack of vintage books for a cohesive display.
Map Print Travel Pumpkin
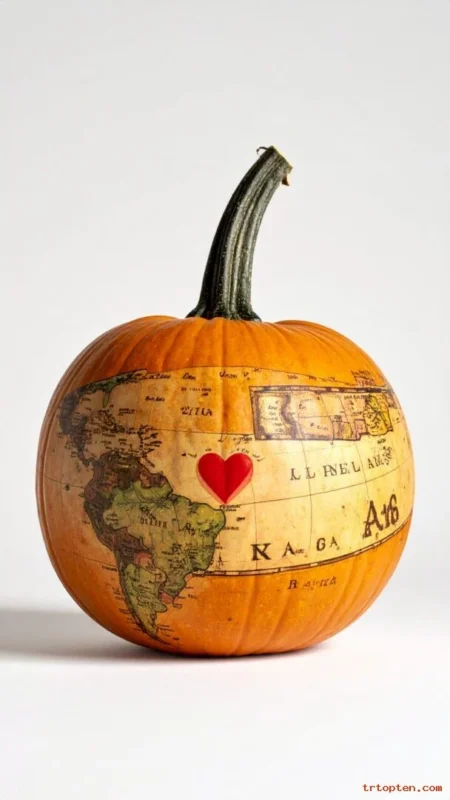
Use a map page or map-style wrapping paper and cut it into curved sections. Glue the map pieces so place names and roads stay readable.
Pick a place you love, like your hometown or a dream trip spot. Mark a heart or star on the map with a small sticker or paint dot.
Seal it well so the paper does not wrinkle over time. This idea works great as a gift because it feels personal and thoughtful.
Mummy Wrap Pumpkin
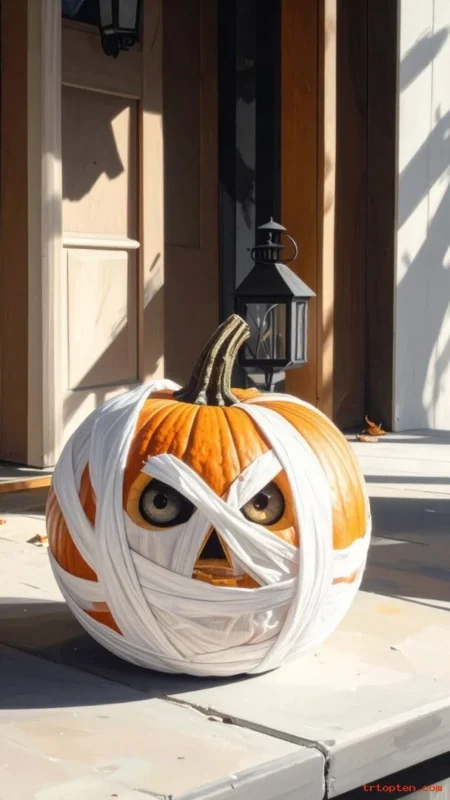
Wrap gauze or white fabric strips around the pumpkin in overlapping layers. Leave small gaps so the orange shows through like shadows.
Add two large googly eyes near the top for a fun face. Use black felt eyes if you want a cleaner, less cartoony look.
Secure the ends with hot glue under a wrap fold so you do not see the seam. Set it next to a small lantern to boost the spooky vibe.
Spiderweb Yarn Pumpkin
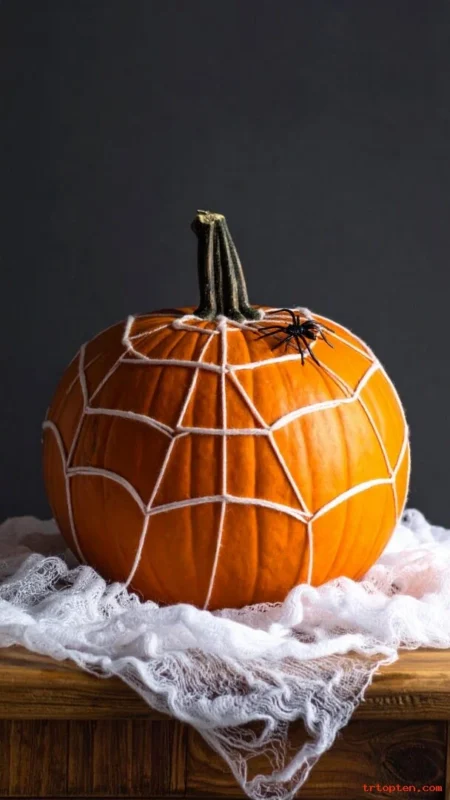
Wrap white yarn around the pumpkin in crossing lines until it forms a web pattern. Anchor the yarn at the stem and base with small glue dots.
Add a plastic spider or a small felt spider for a focal point. Keep the web open so the pattern stays clear and not bulky.
This works well on dark green or white pumpkins for strong contrast. Place it with black candles or a simple sign for a Halloween corner.
Button Mosaic Pumpkin
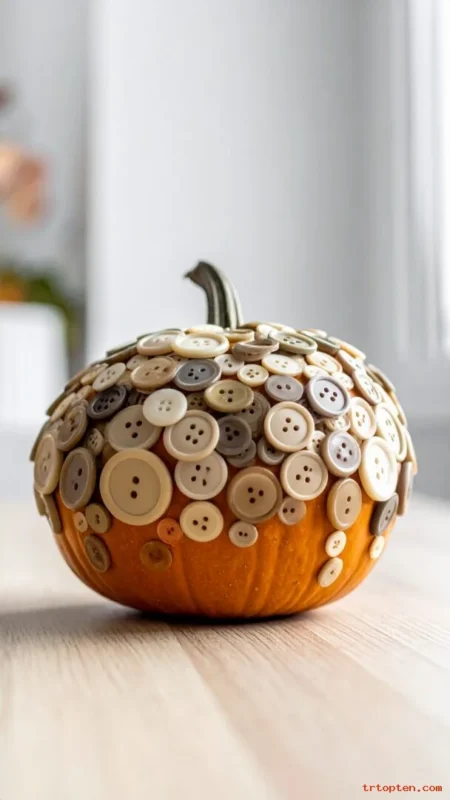
Collect buttons in one color family, like cream and tan, or mix bright colors for a playful look. Hot glue the buttons in rows from bottom to top.
Use different button sizes so the surface looks textured and lively. Keep the layout tight so you do not see big gaps.
Finish the stem with ribbon or twine to balance the busy surface. This idea looks great in a craft room or a kid-friendly entryway.
Confetti Party Pumpkin
Brush a thin layer of craft glue over the pumpkin and sprinkle paper confetti on top. Use circles, stars, or tissue confetti for a fun finish.
Choose one main color plus one accent so it does not look messy. A white pumpkin with black and gold confetti looks clean and bold.
Seal it with a clear coat so the confetti stays flat. Place it on a bar cart or dessert table for a festive fall party.
Candy Corn Stripe Pumpkin
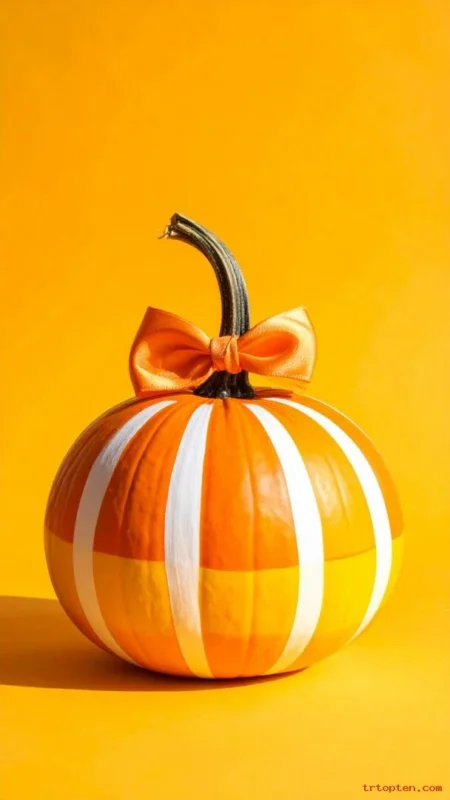
Paint the pumpkin in three clean bands: white on top, orange in the middle, and yellow at the base. Use tape between sections so the edges stay crisp.
Keep the paint layers thin so the surface does not look thick. Let each color dry before the next so the tape does not pull paint.
This classic look feels cheerful and easy for kids to help with. Add a simple black bow on the stem for a cute finish.
Buffalo Plaid Painted Pumpkin
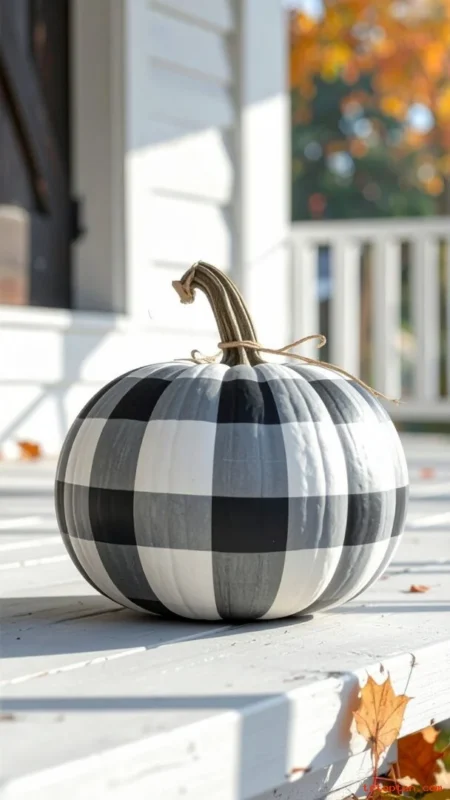
Paint the pumpkin a base color like white or light tan. Add thick horizontal and vertical stripes in black, then fill small squares with a second shade like gray.
Use a small brush so the lines follow the pumpkin curves. Keep the pattern consistent so it looks like real fabric.
Pair it with wooden signs and cozy blankets for a farmhouse feel. This design also looks great with a twine-wrapped stem.
Lace Overlay Pumpkin
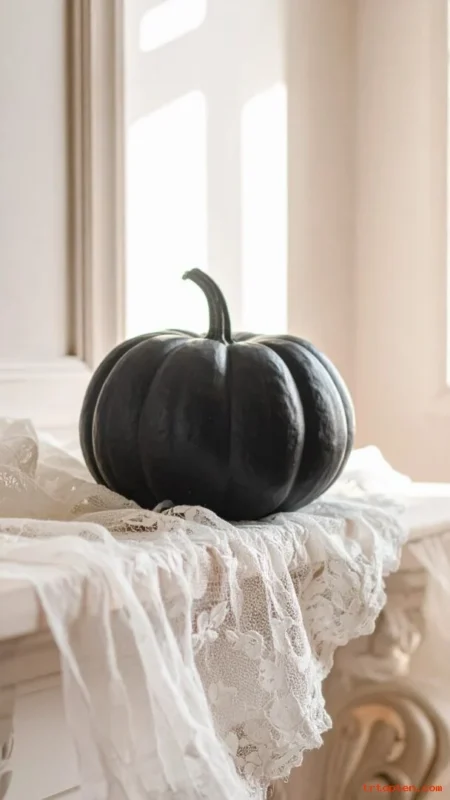
Wrap lace fabric around the pumpkin and secure it under the stem with glue or pins. Use white lace on a dark pumpkin for strong contrast.
You can also spray paint over lace for a stencil-like look. Remove the lace carefully so the pattern stays sharp.
This idea feels elegant on a dining table or mantel. Add small pearl pins for extra detail if you want a vintage touch.
Monogram Pumpkin With Painted Initial
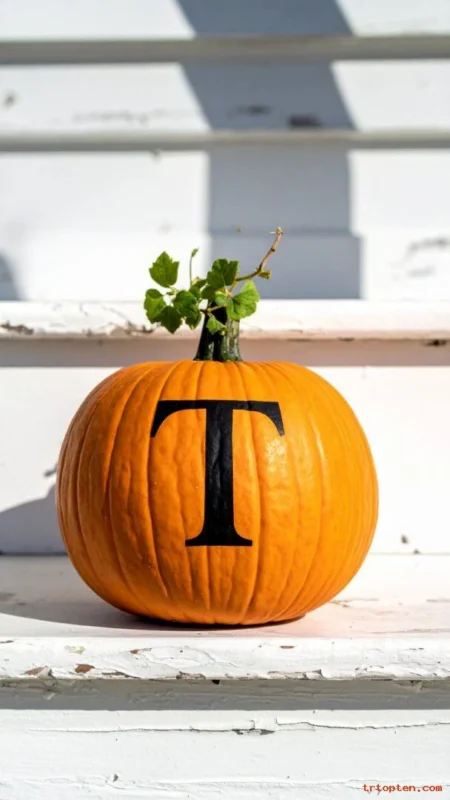
Pick a bold letter style that you can paint cleanly. Trace the letter with a pencil first, then fill it in with acrylic paint.
Use white paint on orange pumpkins or black paint on pale pumpkins for easy contrast. Add a thin outline to make the letter pop from far away.
Finish with a ribbon bow or a small cluster of faux leaves near the stem. This pumpkin works well for front porch steps in a matched set.
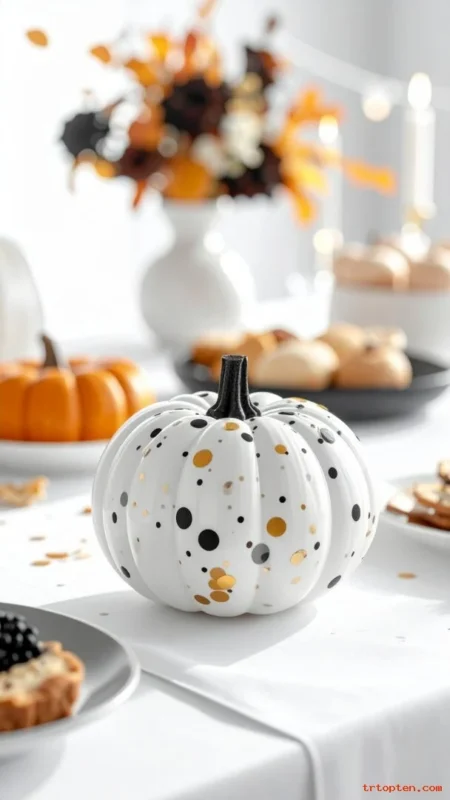
Polka Dot Pumpkin With Sponge Paint

Dip a round sponge or foam pouncer in paint and stamp dots across the pumpkin. Keep dot spacing even so the pattern looks intentional.
Use two dot sizes for a playful look that still feels tidy. Metallic dots on a white pumpkin look modern and bright.
Let the dots dry fully before you move the pumpkin. Spray a clear coat to protect the dots from scuffs and fingerprints.
Neon Drip Paint Pumpkin
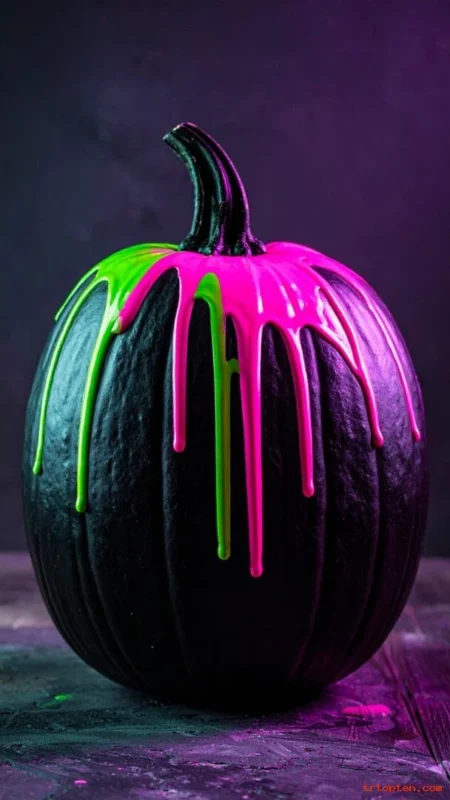
Paint the pumpkin a solid base color like black or white so the drips stand out. Pour bright paint near the stem and let it run down naturally.
Keep the drips on one side for a controlled look, or go all around for extra energy. Use a small brush to guide drips if they go off track.
This style looks great for teen rooms and Halloween parties. Pair it with LED lights to make the color feel even brighter at night.
Ombre Spray Pumpkin
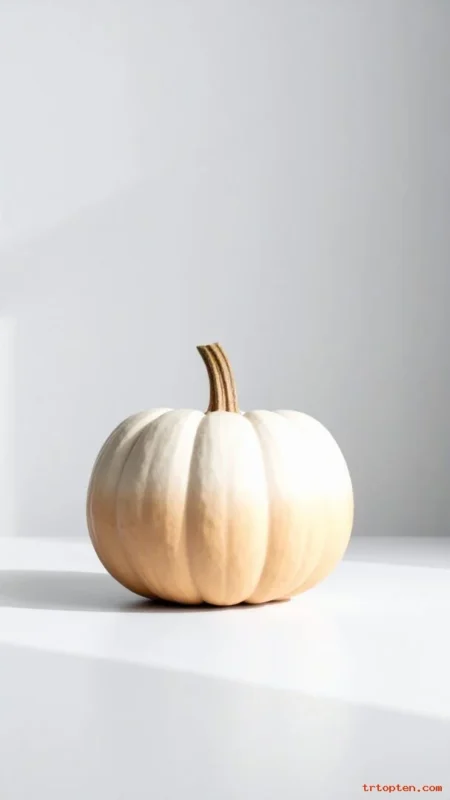
Start with the lightest color at the top and work darker toward the base. Use spray paint in light passes so the fade stays smooth.
Turn the pumpkin as you spray so the gradient looks even. Choose fall tones like cream to caramel, or gray to charcoal for a modern look.
Let it dry in a dust-free spot so the finish stays clean. Add a simple stem topper like twine to keep the focus on the fade.
Galaxy Night Sky Pumpkin
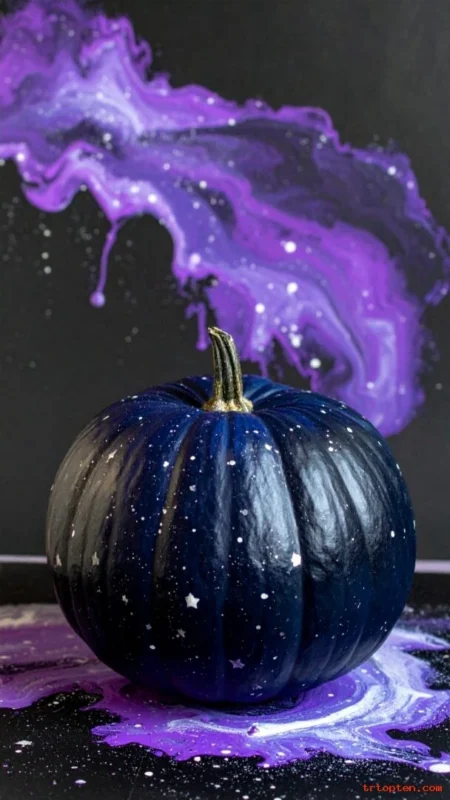
Paint the pumpkin black as a base, then dab navy and purple in soft patches. Flick white paint with a toothbrush to create tiny stars.
Add a few larger star dots with a small brush for depth. A light dusting of silver paint can make it feel magical without heavy glitter.
This pumpkin looks best with darker decor and candles. Place it on a black tray to frame the shape clearly.
Rustic Twine-Wrapped Pumpkin

Wrap twine around the pumpkin from top to bottom, securing it with glue as you go. Keep the lines close so the pumpkin looks fully covered.
Use jute twine for a rough rustic look or cotton cord for a smoother finish. Add a small tag or wooden charm to the stem for detail.
This style fits farmhouse and neutral decor. Place it with dried wheat and wooden beads for a cozy fall corner.
Fabric-Wrapped Sweater Pumpkin
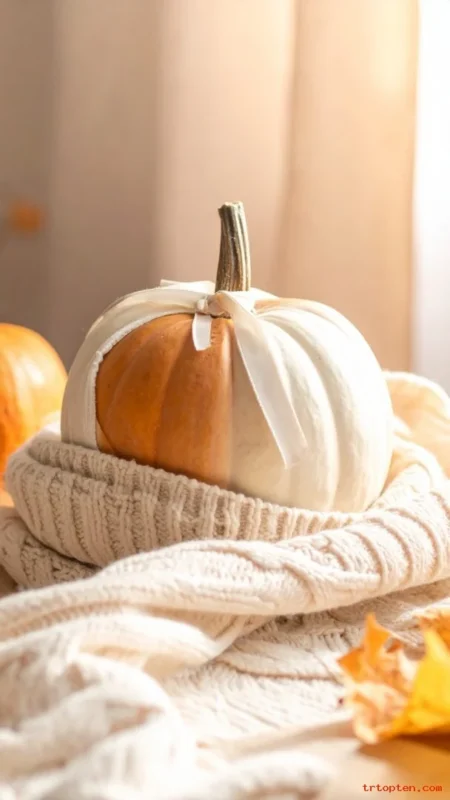
Cut a piece of knit fabric from an old sweater and wrap it around the pumpkin. Pull the fabric tight and glue the seam at the back.
Tuck the fabric at the top and bottom like you wrap a gift. Add a ribbon, button, or felt leaf near the stem to finish it.
Use cable knit for extra texture that looks cozy in photos. This pumpkin looks great on a couch table or bookshelf.
Sticker Patchwork Pumpkin
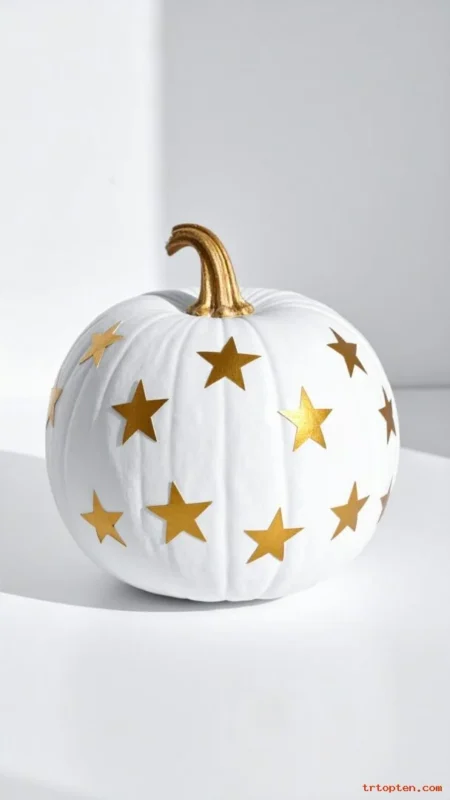
Use themed stickers like bats, stars, florals, or fall icons. Space them evenly or overlap them for a patchwork look.
Choose one sticker finish, like matte or metallic, so the style stays consistent. A plain pumpkin color helps the stickers stand out.
Press each sticker firmly so edges do not lift. Seal with a clear spray if you want the stickers to last longer.
Mini Pumpkin Stack Topiary
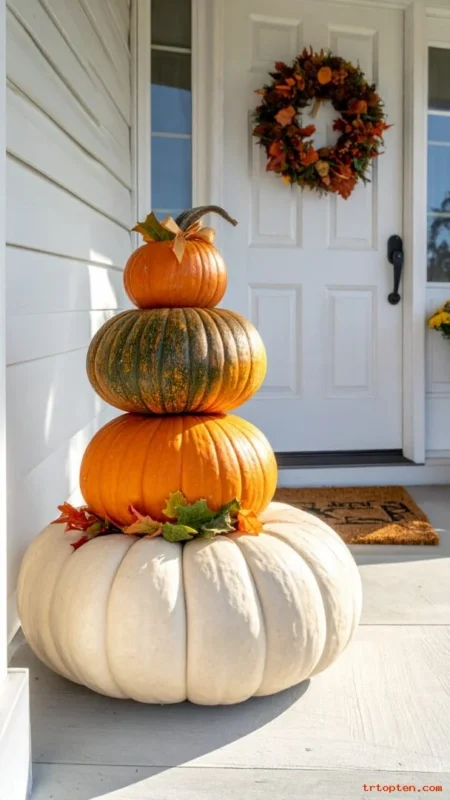
Stack three pumpkins from largest to smallest and secure them with a dowel. Keep the stack straight so it looks stable and neat.
Wrap ribbon around each pumpkin or add small leaf picks between layers. Choose pumpkins in one color family for a clean, styled look.
Place the stack by your door like a seasonal topiary. You can swap the ribbon color to match your porch theme.
Tea Light Glow Pumpkin With Cutout Stickers
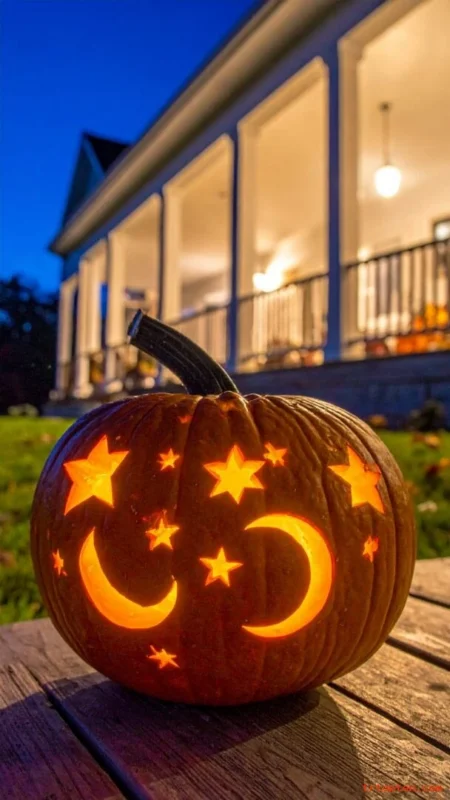
Place a small LED tea light near the pumpkin base. Use cutout stickers or adhesive stencils on the outside to create a pattern.
Spray paint over the sticker, then peel it off to reveal the pumpkin color under the design. The light inside makes the pattern feel warmer at night.
Use stars, moons, or simple shapes for a clean look. Keep it safe by using LED lights, not real flames.
How long do no carve pumpkin decorating ideas last?
Most designs last one to three weeks for real pumpkins if you keep them cool and dry. Faux pumpkins can last for years with simple storage.
Can I use real candles inside a no carve pumpkin?
Use LED candles for safety and to avoid heat damage. Real flames can scorch the pumpkin and raise fire risk.
What paint works best on pumpkins?
Acrylic craft paint works well and dries fast. Spray paint works too if you apply light coats.
How do I help decorations stick to a pumpkin?
Wipe the pumpkin with a dry cloth so glue and tape grip better. Use hot glue for heavier items like buttons and faux flowers.
Can I seal a decorated pumpkin?
Yes, a clear spray sealer helps paint and paper last longer. Test a small area first to check the finish.
Are foam pumpkins worth it?
Foam pumpkins hold paint and tacks well and store easily. They also work better for designs that need pins or studs.
What is the easiest no carve pumpkin idea for kids?
Sticker patchwork and sponge dot painting are simple and fun. Adults can handle glue and sealing if needed.
How do I keep a real pumpkin from rotting fast?
Keep it out of direct sun and bring it inside during warm days. You can wipe the outside with diluted vinegar to reduce surface mold.
Can I decorate mini pumpkins the same way?
Yes, most no carve pumpkin decorating ideas work on mini pumpkins. Use smaller details so the design looks balanced.
Conclusion
No carve pumpkin decorating ideas give you big style with less mess, and you can match them to any fall theme you love. Pick one idea for a quick win or mix a few designs for a full porch set that feels curated and fun.
Save your favorite supplies, store faux pumpkins carefully, and you can reuse these no carve pumpkin decorating ideas season after season.