Indoor arenas help riders train through rain, snow, wind, and harsh sun.
These 25 cheap indoor riding arena ideas can help you build a useful, safe, and budget-friendly space without losing comfort or function.
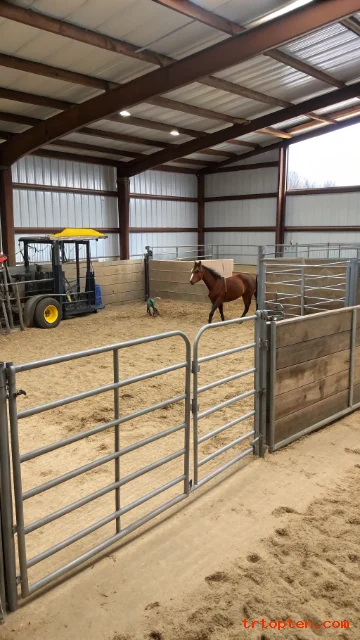
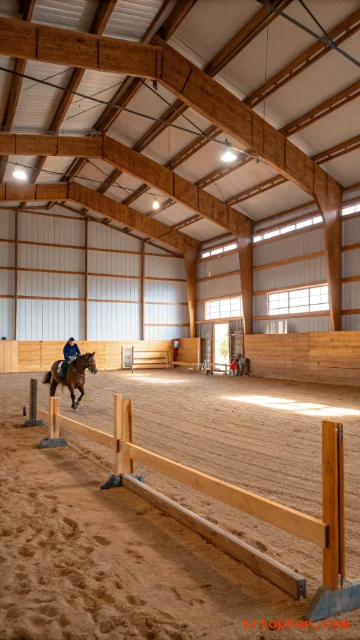
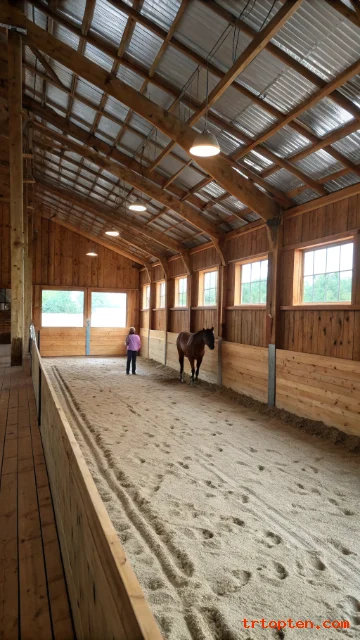
Use a Pole Barn Frame for a Simple Arena Shell
A pole barn frame gives you a strong structure at a lower cost than many traditional building styles. Builders place posts directly into the ground or on simple foundations, which can reduce labor and material expenses.
This design works well for a basic indoor riding arena because it creates wide open space with fewer interior supports. Riders can move safely when the frame has enough width, height, and clear corners.
You can save more money by starting with a covered shell and finishing upgrades later. Add better lighting, kickboards, doors, and footing improvements as your budget allows.
Choose a Smaller Riding Area First
A smaller indoor arena can still support daily training, lunging, groundwork, and basic flatwork. Many riders do not need a full competition-size arena for regular home use.
A compact layout reduces the cost of roofing, walls, footing, lighting, and drainage work. It also lowers maintenance because you have less surface to drag, water, and repair.
You can plan the building so future expansion stays possible. Place doors, posts, and utilities in locations that will not block a later extension.
Use Recycled Metal Roofing

Recycled metal roofing can lower the cost of an indoor riding arena. Many barns, warehouses, and farm buildings have usable panels that can get a second life.
Metal roofing protects the arena from rain and snow while keeping the structure simple. It also lasts a long time when panels are straight, sealed, and free from serious rust.
Inspect every panel before you buy or install it. Good used roofing should have strong edges, clean screw holes, and enough overlap for proper weather protection.
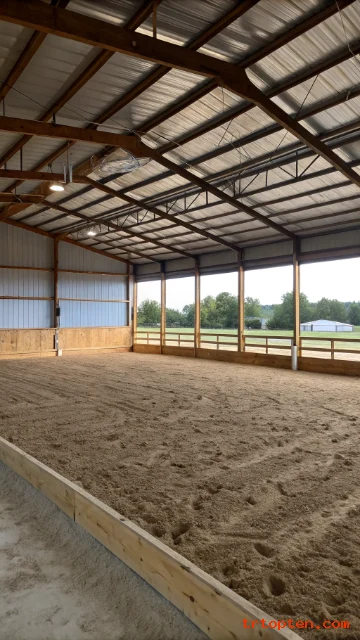
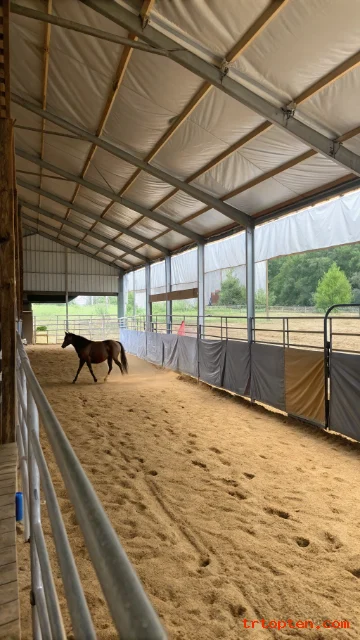
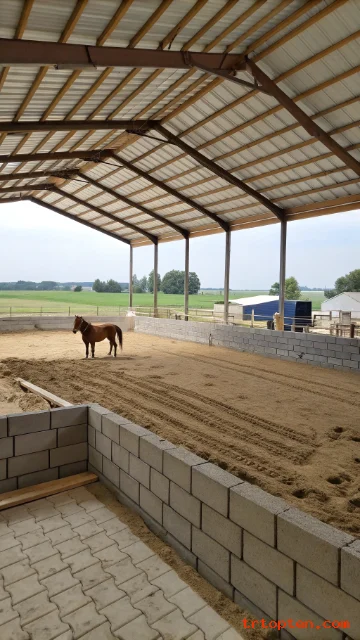
Add Open Sides Instead of Full Walls
Open sides can reduce material costs while still giving riders cover from rain and hot sun. This design works best in mild climates or areas with steady airflow needs.
Open sides also improve ventilation, which helps control dust, moisture, and odors. Horses breathe better when fresh air moves through the arena.
You can add curtains, windbreak panels, or sliding boards later for more weather control. This staged approach lets you build the main arena now and improve comfort over time.
Use Sand Footing with Careful Base Prep
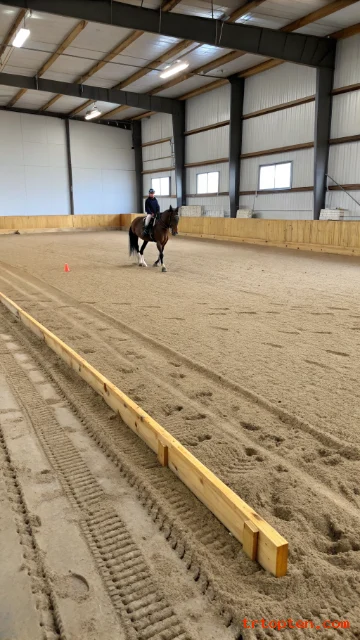
Sand is one of the most common budget footing choices for indoor arenas. It gives horses grip and cushion when the depth and texture stay consistent.
The base matters as much as the sand layer. A firm, level, well-drained base helps stop deep spots, slippery areas, and uneven wear.
Choose washed sand with the right particle shape for riding. Avoid beach sand or very fine sand because it can become dusty and unstable.
Mix Sand with Wood Fiber
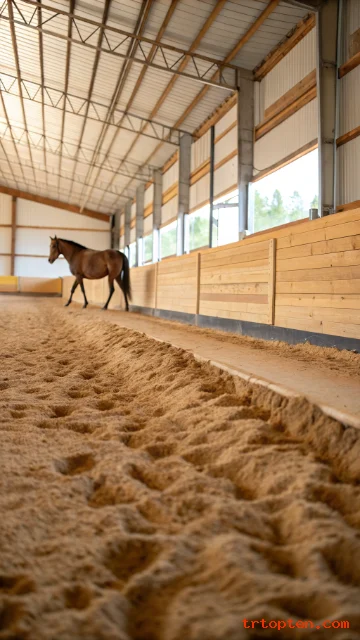
A sand and wood fiber blend can improve comfort without the high cost of premium footing systems. The wood fiber helps bind the surface and gives extra cushion.
This mix can reduce compaction when owners maintain it well. Regular dragging keeps the fiber and sand distributed across the arena.
Use clean, untreated wood fiber that is safe for horses. Avoid painted, stained, or chemically treated wood because it can create health risks.
Install Used Kickboards
Kickboards protect horses, riders, and arena walls. Used boards can work well when they are smooth, strong, and free from sharp edges.
You can often find boards from old barns, fencing projects, or construction leftovers. Reclaimed lumber can reduce cost while giving the arena a sturdy finished look.
Install kickboards at a safe height along the lower wall. Make sure every board sits flush so a horse cannot catch a hoof, shoe, or stirrup.
Use Local Gravel for the Base Layer
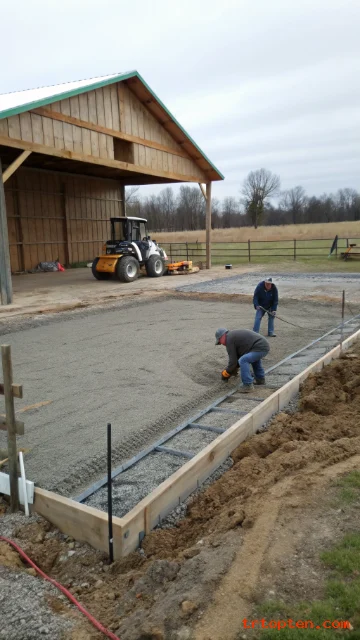
A gravel base can improve drainage and support the riding surface. Local gravel often costs less because delivery distance stays short.
The base layer should be compacted before you add footing. This step creates a stable floor that resists soft holes and uneven settlement.
Talk with a local contractor who understands farm drainage. A good base can save money later because it reduces repairs and footing replacement.
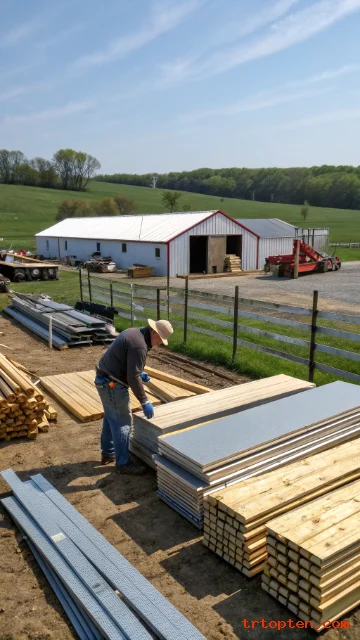
Build with Used Lumber
Used lumber can lower the cost of framing, kickboards, storage areas, and simple partitions. Many farms and contractors sell leftover lumber at reduced prices.
You need to inspect each piece before use. Choose boards that are straight, dry, and free from rot, deep cracks, or exposed nails.
Used lumber works best in non-critical areas or with guidance from a builder. Use new structural materials where safety codes or load requirements demand them.
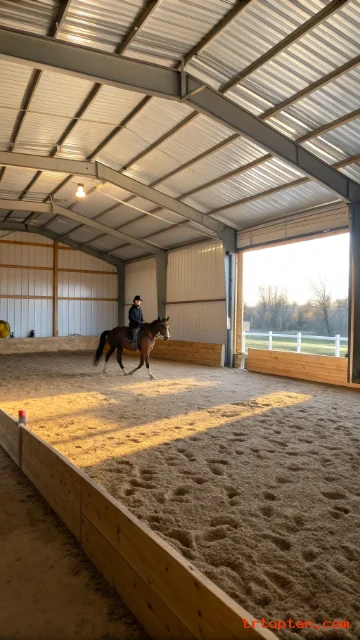
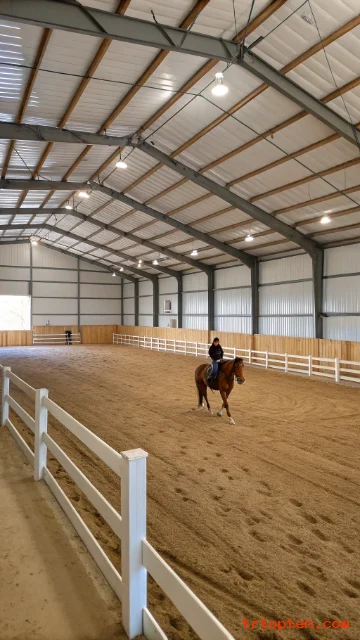
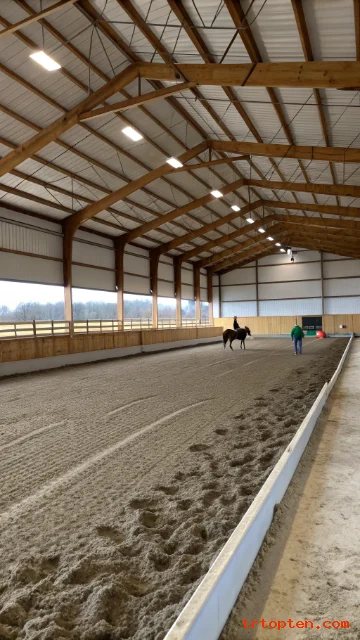
Add Skylight Panels for Daylight
Skylight panels can reduce daytime lighting costs. Clear or translucent roof panels bring natural light into the arena during lessons and chores.
Good daylight also makes the arena feel larger and more welcoming. Riders can see footing, rails, and horse movement more clearly.
Place skylight panels where they do not create harsh glare. Balanced placement gives soft light across the riding area and avoids bright patches that may distract horses.
Use LED Shop Lights
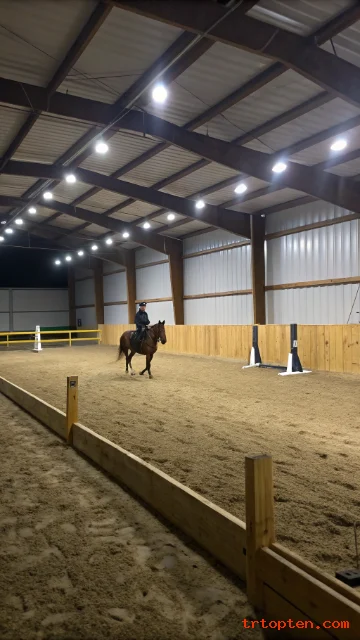
LED shop lights offer a low-cost way to brighten an indoor riding arena. They use less energy than many older lighting options and often last longer.
Good lighting helps riders train safely during early mornings, evenings, and cloudy days. It also helps with grooming, teaching, and checking footing conditions.
Hang lights high enough to avoid contact with horses, poles, or equipment. Use even spacing so dark corners and shadows do not create safety problems.
Use Tarps as Temporary Wind Barriers
Heavy-duty tarps can block wind and rain until you can afford permanent walls. They work best as a short-term solution for open-sided arenas.
Tarps should be tight, secure, and placed away from horse contact. Loose tarps can flap loudly and scare horses during training.
Choose durable outdoor tarps with strong grommets. Replace damaged sections quickly so the arena stays safe and tidy.
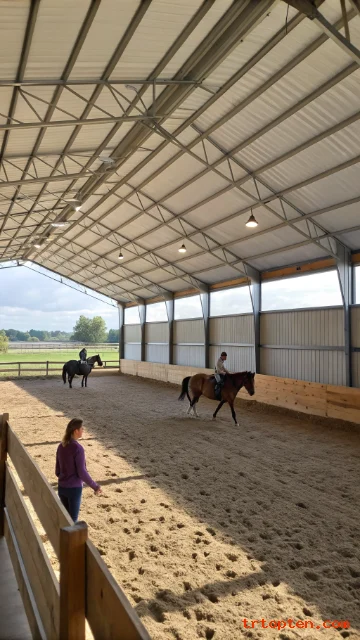
Build a Multi-Use Riding Space
A multi-use arena gives more value from the same building. You can use it for riding, groundwork, lunging, clinics, farrier visits, and winter turnout.
This idea works well when every square foot needs to justify its cost. A flexible layout helps the arena serve horses, riders, and farm tasks.
Keep tools, jumps, cones, and poles organized along one safe storage wall. Clear storage keeps the riding area open and reduces trip hazards.
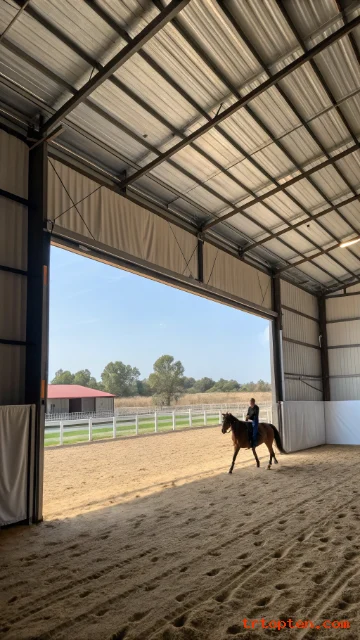
Install Sliding Doors Instead of Large Fancy Doors
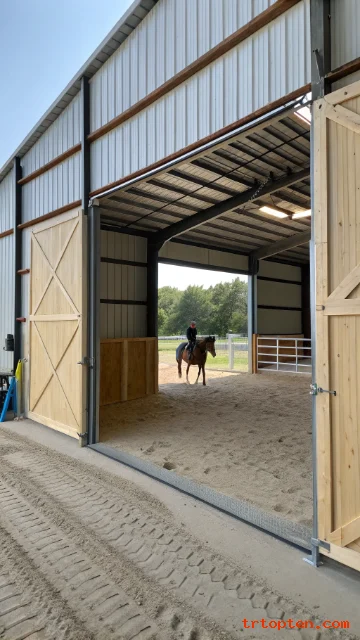
Sliding doors can cost less than custom overhead doors. They also fit well on barns and simple indoor arena structures.
Large sliding doors allow tractors, drags, and horses to enter with ease. They can also improve airflow when the weather is pleasant.
Use strong tracks, safe latches, and smooth rollers. A door that sticks or swings loose can become a daily problem and a safety risk.
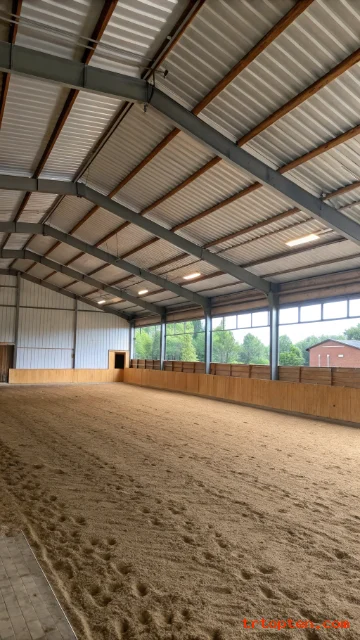
Use a Simple Rectangular Layout
A simple rectangle keeps building costs easier to control. It reduces complicated framing, unusual roof angles, and wasted material.
This layout also helps riders use clear lines, circles, transitions, and patterns. Horses learn better when the space feels consistent and predictable.
Mark corners clearly and keep the rail safe. A clean rectangle supports everyday schooling without adding unnecessary construction costs.
Add Mirrors Only Where Needed

Arena mirrors help riders check position, straightness, and horse movement. Full mirror walls can cost a lot, but one or two useful mirrors can still help.
Place mirrors at the short end or along one training area. This gives visual feedback without covering the entire arena.
Use shatter-resistant safety mirrors when possible. Mount them securely and high enough to protect horses and riders.
Use Secondhand Gates and Panels
Secondhand gates and panels can help divide areas, create entrances, or protect storage zones. Many farms sell used panels when they change layouts.
Check every hinge, latch, weld, and rail before installation. Safe panels should not have sharp edges, weak joints, or bent sections that can trap a horse.
Used gates work well near entry points and equipment zones. They keep the arena flexible while keeping costs low.
Add a Budget Viewing Corner
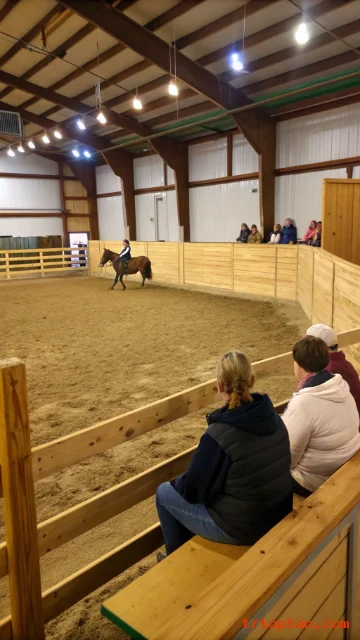
A small viewing corner can make lessons and family visits more comfortable. You do not need a full lounge to create a useful spectator area.
Use simple benches, rubber mats, and a safe rail barrier. Keep the seating area outside the main riding path so horses stay focused.
This corner can also hold lesson notes, helmets, and water bottles. A tidy viewing spot improves the arena without adding major construction costs.
Use Rubber Mats at Entry Points
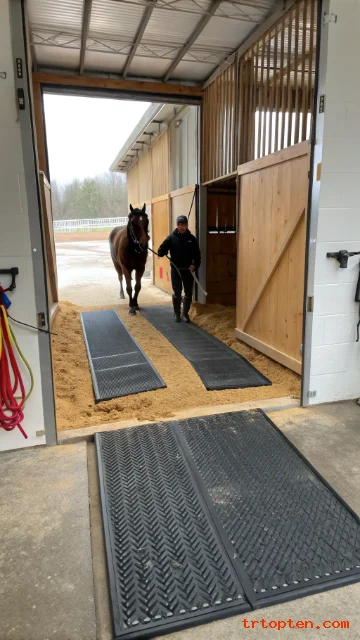
Rubber mats protect high-traffic areas where horses enter and exit. These spots often wear faster than the main riding surface.
Mats can reduce mud, slipping, and footing loss near doors. They also give handlers a safer surface while leading horses into the arena.
Use heavy mats that stay flat and do not curl. Secure edges so horses cannot trip or catch a shoe.
Improve Drainage Before Adding Fancy Features
Drainage should come before mirrors, lounges, or decorative finishes. A wet arena can damage footing, create odor, and make riding unsafe.
Good drainage starts outside the arena with grading, gutters, and water control. It also depends on a stable base under the footing.
Spend money first on the parts you cannot easily fix later. A dry arena stays useful longer and protects your total investment.
Use Curtains for Seasonal Weather Control
Arena curtains can block wind, rain, dust, and bright sun. They cost less than full framed walls in many projects.
Curtains work well because you can open them on warm days and close them during bad weather. This flexibility keeps the arena comfortable through changing seasons.
Choose strong curtain material made for outdoor or agricultural use. Secure the bottom edge so it does not flap near horses.
Keep the Roof Design Simple
A simple roof design can save money on engineering, labor, and materials. Straightforward shapes are easier to frame, cover, repair, and maintain.
A clean roofline also helps with rain and snow runoff. Good runoff protects the arena walls, doors, and footing from moisture problems.
Avoid decorative roof details if budget is tight. Spend the savings on safety, footing, lighting, and ventilation.
Buy Materials During Off-Season Sales
Off-season shopping can help reduce the cost of arena materials. Some suppliers discount metal panels, lumber, lights, mats, and hardware during slower months.
You need a clear materials list before you shop. A list stops impulse purchases and helps you compare prices across local suppliers.
Store discounted materials in a dry, safe place until construction begins. Good storage protects your savings because damaged materials can erase the deal.
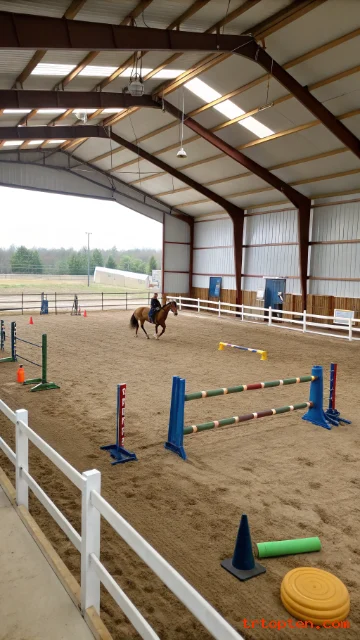
Add DIY Ground Poles and Simple Training Tools
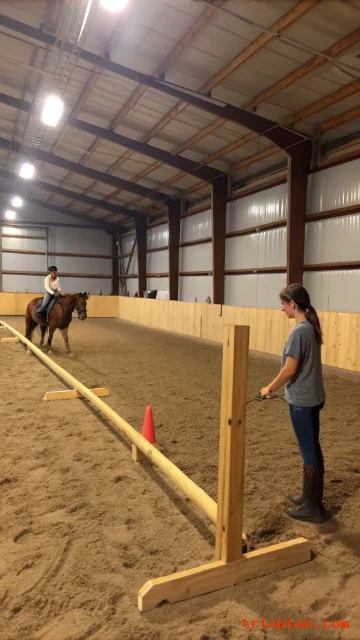
DIY ground poles can make a small indoor arena more useful. They help riders practice rhythm, steering, balance, and horse focus.
You can make poles from safe, smooth lumber or buy used poles from other barns. Paint is optional, but bright markings can help riders see distances better.
Store poles along the wall or on a simple rack. Good storage keeps the arena clear when you need open space for flatwork or lunging.
Build in Phases Instead of All at Once
A phased build helps you create an indoor riding arena without taking on every cost at the start. You can begin with the roof, frame, base, and basic footing.
Later phases can add walls, curtains, mirrors, better lights, storage, and seating. This approach keeps the project moving while giving your budget time to recover.
Plan each phase before the first post goes in the ground. Smart planning prevents expensive changes and makes every upgrade fit the final arena.
What is the cheapest type of indoor riding arena?
A basic pole barn arena with a simple rectangular layout is often one of the cheapest options. It uses a practical frame, simple roofing, and fewer complicated design details.
Can I build an indoor riding arena in phases?
Yes, a phased build works well for many horse owners. Start with the structure, base, and footing, then add lights, walls, mirrors, and storage later.
What size should a budget indoor riding arena be?
A small arena can work for basic schooling, groundwork, and lunging. Many owners choose a compact size first and plan the structure so they can expand later.
What is the best cheap footing for an indoor arena?
Washed sand is a common budget footing choice. It works best over a firm base and with regular dragging, watering, and depth checks.
How can I reduce dust in a cheap indoor arena?
You can reduce dust by choosing the right sand, adding safe fiber, watering the footing, and improving ventilation. Open sides, curtains, and roof vents can also help air move through the space.
Are open-sided indoor arenas useful?
Open-sided arenas are useful in many climates because they provide roof cover and strong airflow. They may need curtains or wind barriers during cold, wet, or windy seasons.
Can I use used materials for an indoor arena?
Yes, used lumber, gates, panels, and roofing can reduce costs. Inspect each item for strength, rot, rust, sharp edges, and safety concerns before installation.
Do indoor arenas need drainage?
Yes, indoor arenas still need drainage because water can enter from doors, roof runoff, ground moisture, and storms. A dry base protects footing and keeps the arena safer.
How can I make a small indoor arena feel better?
Use good lighting, clean kickboards, organized storage, and even footing. These simple upgrades can make a small arena feel safer, brighter, and easier to use.
Conclusion
These cheap indoor riding arena ideas can help you create a safe and useful riding space without overspending.
A simple structure, solid base, practical footing, good airflow, and smart lighting can make a big difference.